Azure Elastic Jobs is a feature for Azure SQL DB which allows for scheduled jobs (For database automation or maintenance activities) to be run.
It involves a number of components, namely:
- Creating a new Jobs database
- Creating Elastic Job Agent
- Creating Elastic Job
- Setting up of Credentials for Job Execution
Below is a detailed write-up on the steps to setup Elastic Jobs from scratch.
Create Jobs Database
-
Login to Azure Portal.
-
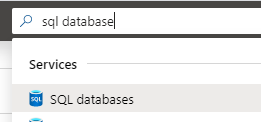
Type ‘SQL Databases’ on Search box located at the top of the page. Click on ‘SQL databases’ option.

-
Click on ‘Add’ within the ‘SQL databases’ page.
-
In the ‘Create SQL Database’ page, fill in the following fields accordingly:
Subscription – Subscription where Jobs Database will be billed against
Resource group – Resource group to logically group Jobs Database
Database name – Name of Jobs Database
Server – Choose SQL Server to host Jobs Database - Click on ‘Configure database’ for ‘Compute + storage’ field
-
In the ‘Configure’ page, choose a tier which will be either ‘Standard’ or beyond. Elastic Jobs Databases will require a tier of S0 and above
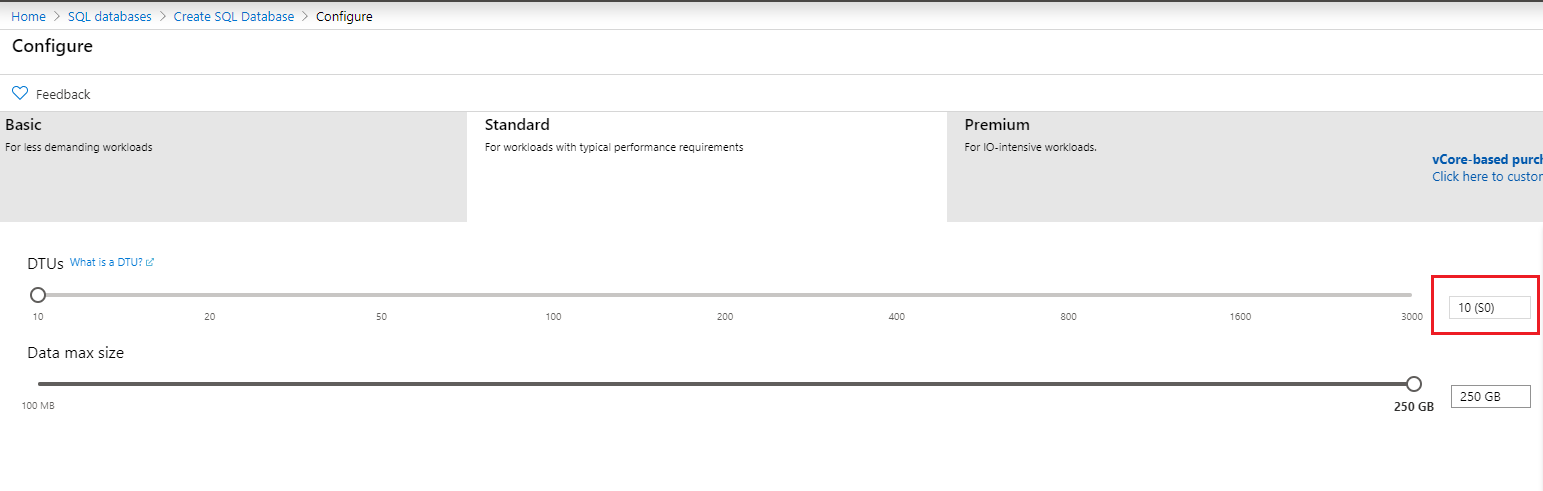
- Fill up remaining fields as per required, and proceed to click ‘Review + Create’ to create Jobs Database.
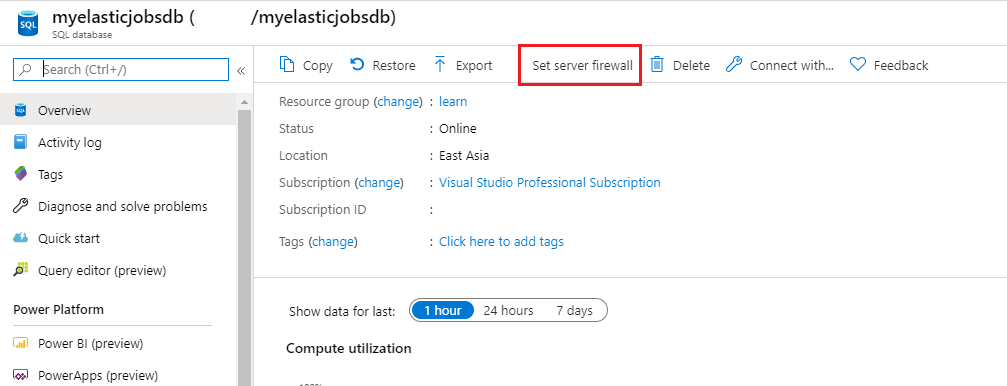
Enable access to Jobs Database from client machine
- Ensure that the Job SQL Server firewall allows access to your client, by clicking ‘Set server firewall’ and subsequently adding your Client IP.
Create Elastic Job Agent
-
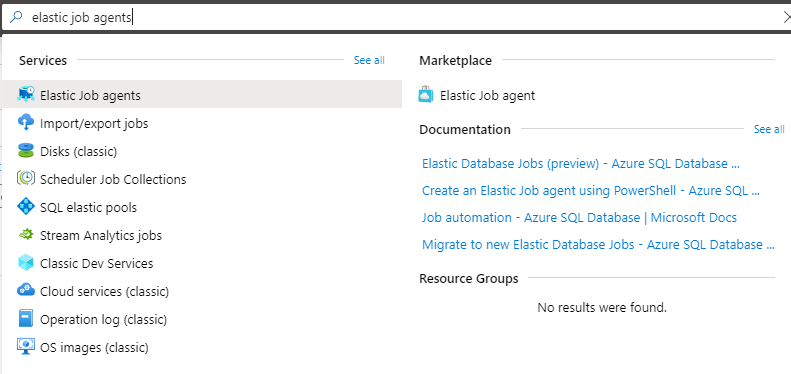
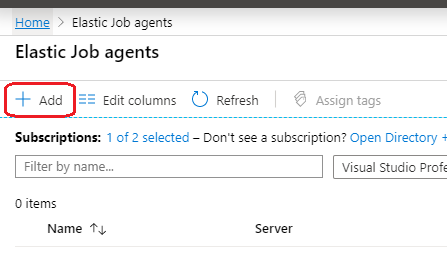
Type ‘Elastic Job Agents’ on Search box located at the top of the page. Click on ‘Elastic Job Agents’ option.
-
Click on ‘Add’.
-
On the ‘Elastic Job agent’ page,
a. Fill up the following fields:
Name – Name of Job Agent
Subscription – Subscription where Elastic Job costs will be billed against
b. Click on ‘Preview terms’ and check the checkbox to accept the terms.
c. Click on ‘Job database’, and select the server and Jobs Database which was created earlier.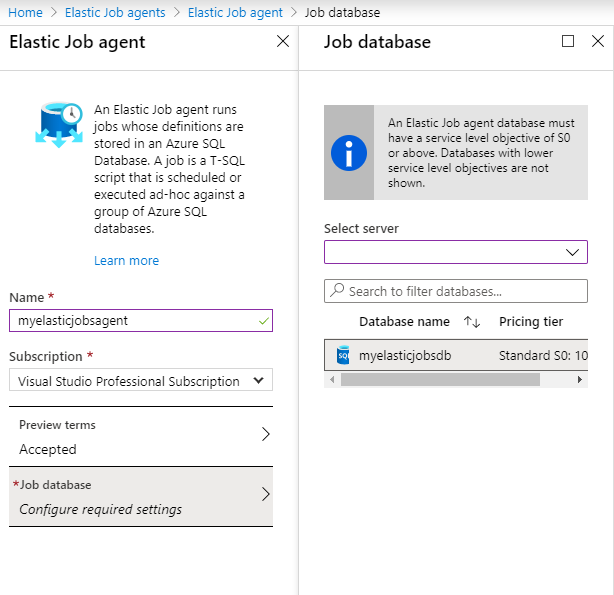
- Click on ‘Create’ to create Job Agent
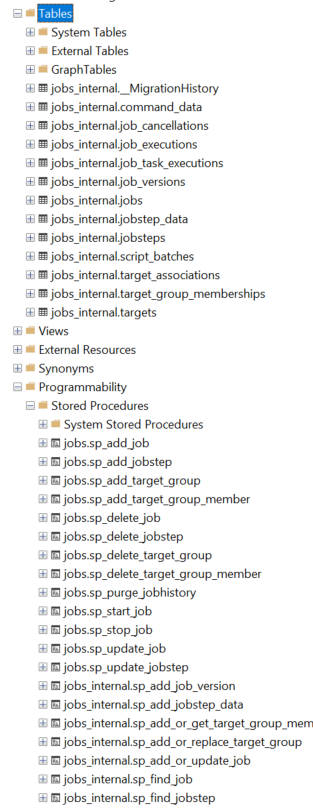
- To verify that the Elastic Job Agent has successfully connected to the Jobs Database, access the Jobs Database through SQL Server Management Studio. A number of tables & stored procedures should have been created to indicate successful connection.
Create Elastic Job
Job Database Server Configurations
- Connect to the Job Database Server through SSMS.
- Create Database Scoped Credential.
1
2
3
4
5
6
7
8
9
10
11
12
13
14
--Connect to the job database specified when creating the job agent

-- Create a db master key if one does not already exist, using your own password.
CREATE MASTER KEY ENCRYPTION BY PASSWORD='<EnterStrongPasswordHere>';

-- Create a database scoped credential – Identity used to execute job against target database
CREATE DATABASE SCOPED CREDENTIAL myjobcred WITH IDENTITY = 'jobcred',
    SECRET = '<EnterStrongPasswordHere>';
GO

-- Create a database scoped credential – Identity to connect to master database
CREATE DATABASE SCOPED CREDENTIAL mymastercred WITH IDENTITY = 'mastercred',
    SECRET = '<EnterStrongPasswordHere>';
GO
- Create a Target Group
1
2
3
4
5
6
7
8
9
10
-- Add a target group containing server(s)
EXEC jobs.sp_add_target_group '<Target Group Name>'

-- Add a server target member
EXEC jobs.sp_add_target_group_member
'<Target Group Name>',
@target_type = 'SqlServer',
@refresh_credential_name='mymastercred', --credential required to refresh the databases in server
@server_name='<Target Database Server Name>'
Target Database Server Configurations
- Connect to the Target Database Server through SSMS
- Create Login & User objects in master database in target database server
1
2
3
4
5
6
-- Create 'mastercred' Login & User in target server master db
CREATE LOGIN mastercred WITH PASSWORD = 'Password1'
CREATE USER mastercred FROM LOGIN mastercred

-- Create 'jobcred' Login in target server master db
CREATE LOGIN jobcred WITH PASSWORD = 'Password1'
- Create user object to run queries and grant required permissions in target database
1
2
3
4
5
6
-- Create 'jobcred' User in target server target db
CREATE USER jobcred FROM LOGIN jobcred

-- Grant required permissions to user
GRANT ALTER ON SCHEMA::dbo TO jobcred
GRANT SELECT,UPDATE,INSERT,DELETE,EXEC TO jobcred
Job Database – Add Job
- Add job (and specify frequency)
1
2
3
4
5
6
-- Add job
EXEC jobs.sp_add_job
	@job_name='BatchUpdateJob',
	@description='Job to run to update x tables',
	@schedule_interval_type='Hours',
	@schedule_interval_count=1
- Add job steps for job
1
2
3
4
5
-- Add job step for create table
EXEC jobs.sp_add_jobstep @job_name='Step1',
@command=N'EXEC [dbo].[teststoredproc] ',
@credential_name='myjobcred',
@target_group_name='Group1'
Official References
https://docs.microsoft.com/bs-cyrl-ba/azure//sql-database/sql-database-job-automation-overview#elastic-database-jobs-preview
https://docs.microsoft.com/en-us/azure/sql-database/elastic-jobs-tsql
-
Previous
Azure Data Engineer Associate (DP-200, DP-201) Certification Study Guide -
Next
Azure Data Factory - Removing Triggers without Errors